Step-by-step sourdough
I am writing this blog post solely for the purpose of showing you my method - from start to finish, so you can find success in baking sourdough bread. Sourdough bread making can be intimidating. When I first had interest in making bread I took pages of handwritten notes. I was so overwhelmed with information that I began to get scared of starting. I wanted to make sure I had everything perfect before attempting to bake. The reality is you’ll never be 100% ready, you have to start anyways.
MY STARTER

After doing some research on how to make a loaf, I stumbled upon a marketplace listing for sourdough starter. The woman I bought my starter from had been maintaining it for thirty years! I knew I had to have some! When I brought her home she was just around 150 grams, that was October of 2024. I have made hundreds of loaves and other baked goodies with my good friend, Doughmingo. I learn more with every bake and I treat every recipe or adjustment as an experiment. Sourdough is relatively forgiving, you don’t have to be an expert to start, you have to start to be an expert!
THE PROCESS - simplified
(1) Feed: I feed my starter daily, in the morning. 7AM
(2) Form dough:I form my dough with active starter around 1-2pm.
(3) Bulk Fermentation (bf): Bulk fermentation times vary (!!!) My dough has been taking approximately 6 hours from forming to shaping to ferment.
(4)Pre-shape/ shape: I shape or pre-shape loaves. 7-8PM
(5)Cold Proof: I refrigerate my loaves overnight for 12-14 hours.8PM-1PM
(6) Bake: I bake the loaves the next afternoon.

THE PROCESS: in depth
(1) Feeds can vary based on how often you use your starter, or how often you are wanting to bake. I bake daily Monday through Friday, and maybe once over the weekend for family treats! I am currently selling loaves locally. I feed my starter accordingly to make as many loaves as I need. To keep it simple for beginners, my daily ratio is either 1:2:2 or 1:3:3. This is in the form of starter:water:flour weighed in grams! After feeding and mixing thoroughly, I mark on the outside of my container with a dry erase marker so I can keep track of when it has doubled in size.
large(r) feed:
In the morning, I have about 150g of starter. I feed that 150g: 300g of water: and 300 g of flour. This would over time double and once it has doubled it is ready to use for forming dough. With this feeding I would have approx. 750g of active starter to use.
small(er) feed:
In the morning, I would take my 150g of starter and discard half. I would then feed 75g of starter that was remaining: 150g of water: and 150g of flour. With this feeding I would have approx. 375g of active starter to use (which could make between 1-3 loaves)
*maintenance feed: This is where I am simply feeding the starter to keep it active and happy, not planning on baking with it so not trying to waste flour. Example: I have 150g of active starter, I discard 130g to leave me with 20g. I feed 20g: 40g of water: 40g of flour. This leaves me with 100g of active starter (technically enough for one loaf but we won’t be using it)
(2) You will form your dough hours after feeding it, once your starter has doubled You can form your dough with any recipe you’d like. There are MILLIONS online if you search up sourdough recipes. I will be sharing mine with you soon.. but not quite yet. This is also only an article pertaining to loaves so for other goodies like cinnamon rolls, pastries, pizza dough, etc there will be different fermentation times.
(3) Bulk Fermentation: if you’ve had issues with making loaves in the past it’s very likely the fermentation time was to blame. Fermentation time varies depending on house temperature, climate/weather, altitude, quantity of dough being formed, and temperature of dough. Lots of variables here so just know that sourdough is an ongoing experiment and every bake will not be identical! I live in Florida where it is generally warm and humid, so my batches of dough generally take 6-7 hours to ferment. When making bulk batches (3+ loaves at a time), the dough ferments quicker so it is something I really just interpret based off of size increase, and a general time frame based off of dough temperature. (see chart below)

(4) Once my dough is done fermenting, I gently dump it onto a clean, floured surface. I use a bench scraper to split the dough into 950g loaves. With the 950g lump of dough I gently fold the two sides together like a taco and use my hand to crimp the two sides shut together.

I then, take one side of the dough and roll it into itself like a burrito. This is a “pre-shaped” loaf.
It is almost fully shaped at this point I can (a) finish shaping and bake immediately*, or (b) let bench rest for an additional 30 minutes, THEN shape and place in fridge to cold proof. For the classic, tangy sour taste, a cold proof is necessary, *if you are in a rush for a loaf, or don’t prefer the sour taste, you can bake it right away and skip the cold proof.
To finish shaping, I take the pre-shaped loaf and cup my hands around the top of it, applying pressure and sliding it down the counter to tuck in the sides. I do this 3-4 times or until my dough is in a nice formed ball. Avoid pulling too much or too hard as the dough can rip. I flour the top of the formed dough ball, and place UPSIDE DOWN (floured top against towel) in a tea towel lined bowl or colander. The last step of shaping is to stitch, or pinch the seams shut. I pinch the dough on either side and clasp it together, similar to how we did in the initial pre-shape.
(5) Once my dough is formed into a loaf I place the colander or bowl in the fridge for 12-14 hours. This slows fermentation down and gives the bread its distinct, sour flavour.
(6) The next morning (or afternoon) I bake my loaves. I use the open-bake method. I preheat my oven to 450 with a large sheet pan flipped upside down on the middle rack. I place a shallow sheet pan full of water on the lower rack to act as a steam tray.
After the oven has fully preheated I take my loaf out of the fridge, flip it over onto high-heat OVEN SAFE parchment paper. I apply a decorative score using a razor blade. The loaf will bake for 7 minutes before I open the oven and score an expansion line through the middle (or side) of the loaf. The loaf will bake for 25 minutes at 450, and then for an additional 20 minutes at 425. I temp check my loaves with a thermometer through the middle. I take them out when they are at least 200 degrees internally.

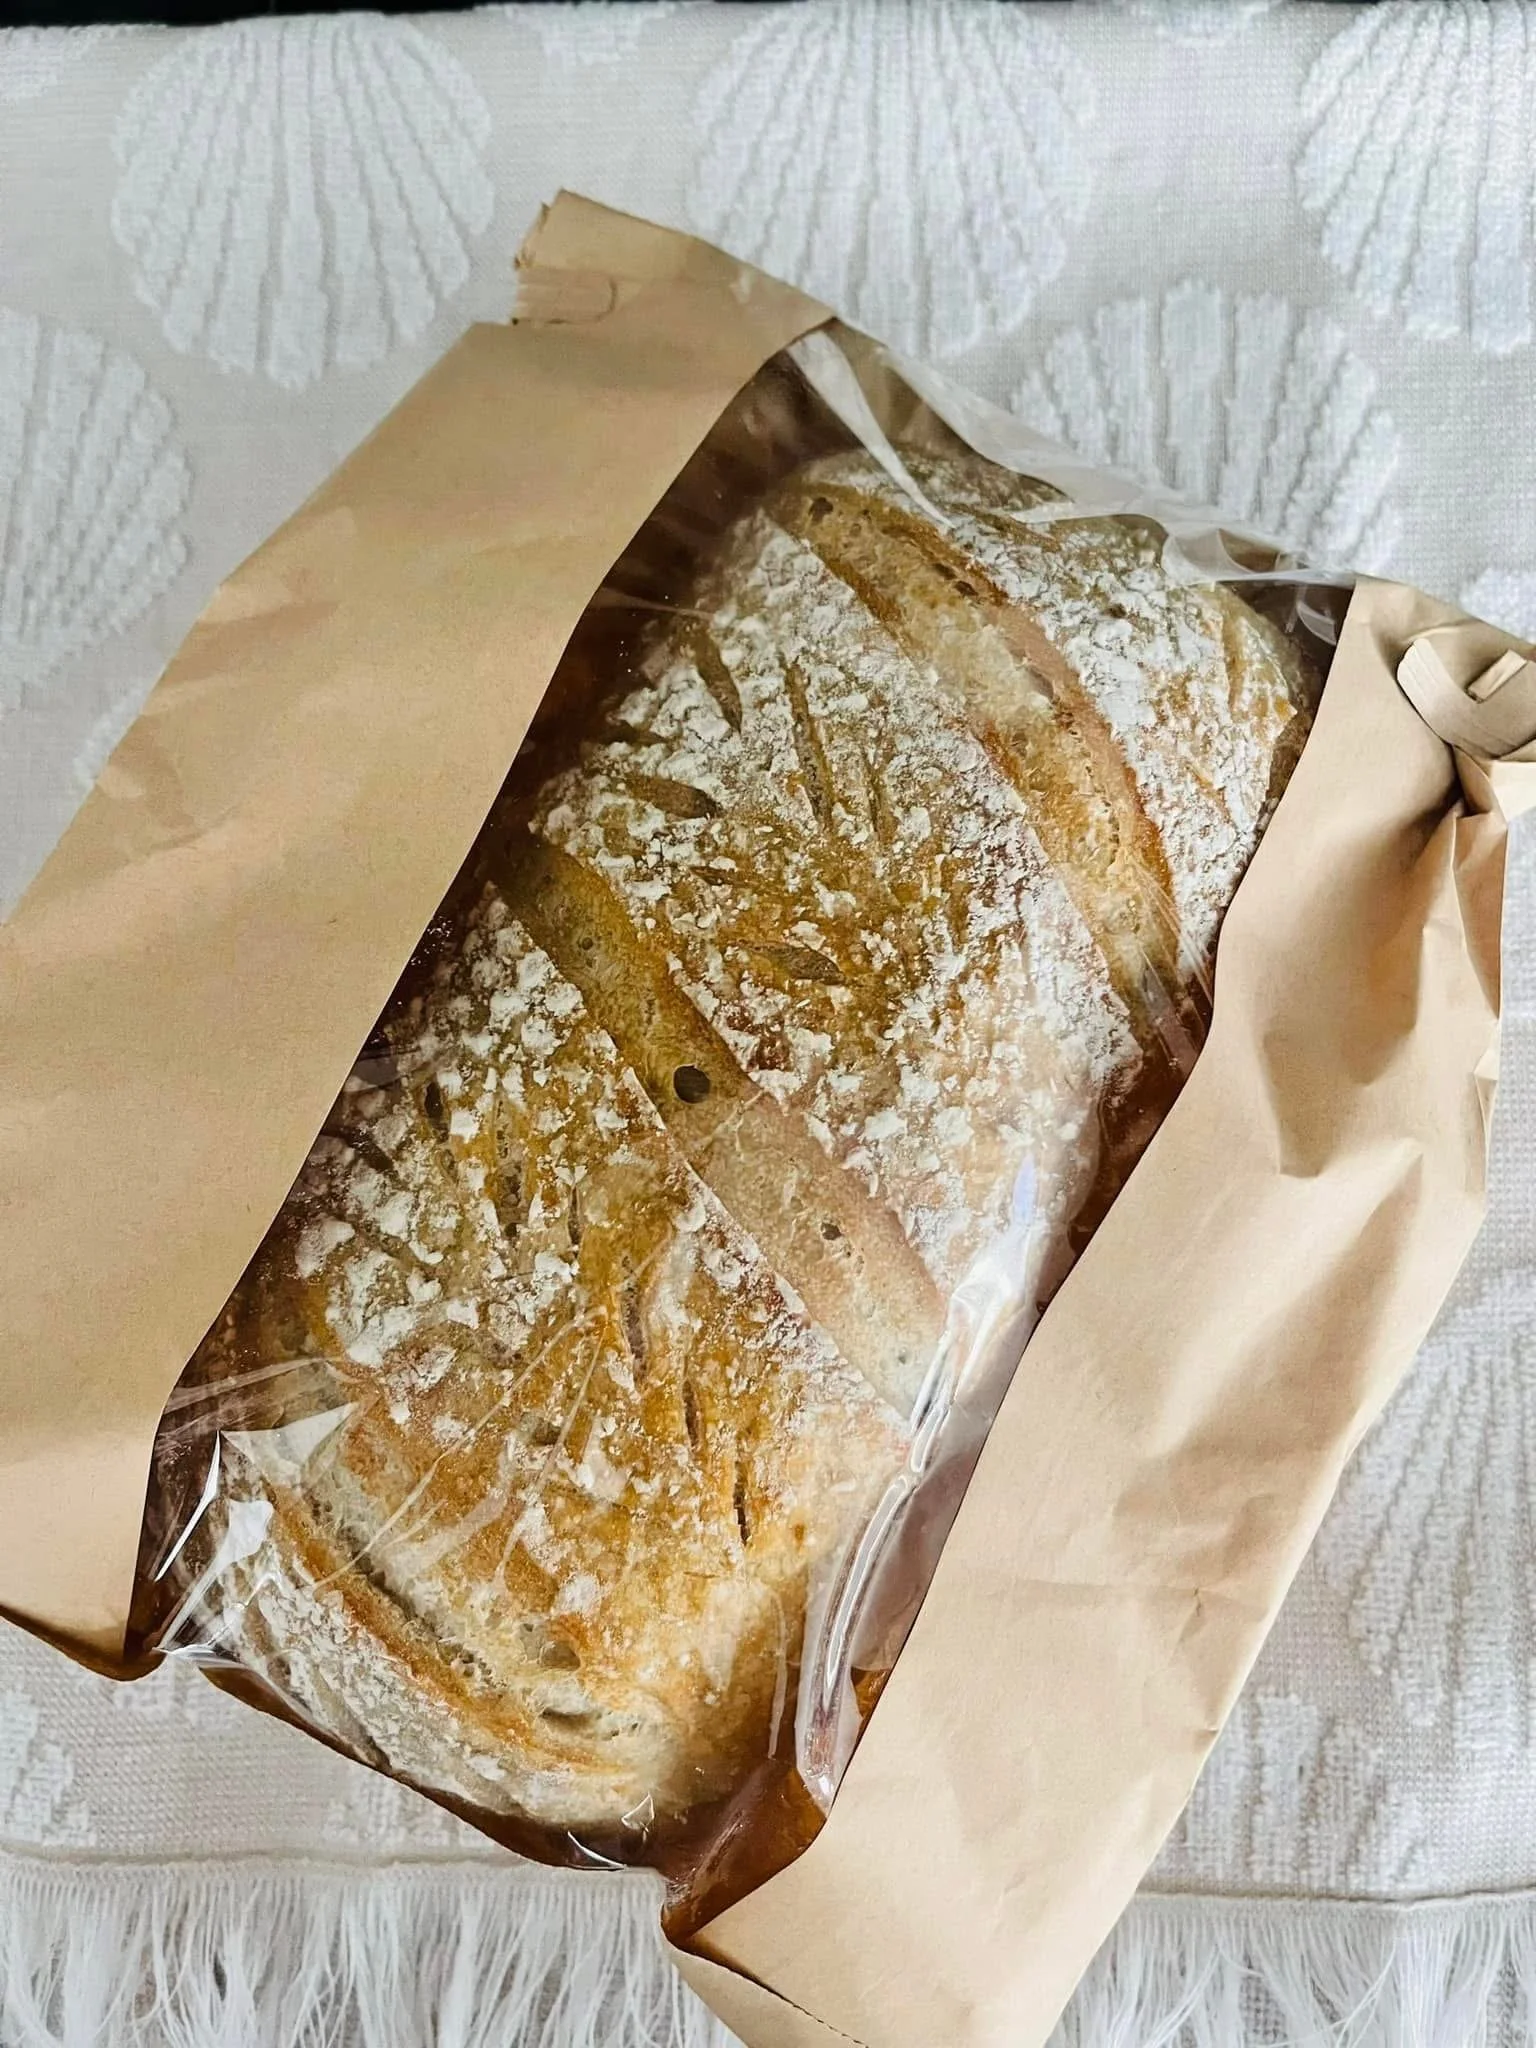
The last step of this process would be cooling and enjoying your fresh baked loaf! Experts say to wait until your loaf is completely cooled before cutting into it. I, on the other hand, think bread is best enjoyed while it is still warm from the oven, covered in kerrygold butter. Cut into your warm loaves at your own discretion.
I have a separate blog post on storing your fresh loaves to keep them fresh for longer too! Give it a read to ensure you keep that same-day bake flavour for the whole week!

I hope this tutorial helps you! Feel free to send me any questions you have, I’d love to help you out in your journey! Every loaf is an experiment, and it is all a process of trial and error to find what YOU enjoy most!